Building Raised Gardens with Pallets
Making your own raised wood pallet garden bed is relatively easy, inexpensive and helps to create a healthy and organized garden.
Growing your own vegetables can be very rewarding. It’s relaxing, you get to spend time outside and enjoy your own fresh vegetables throughout the season.
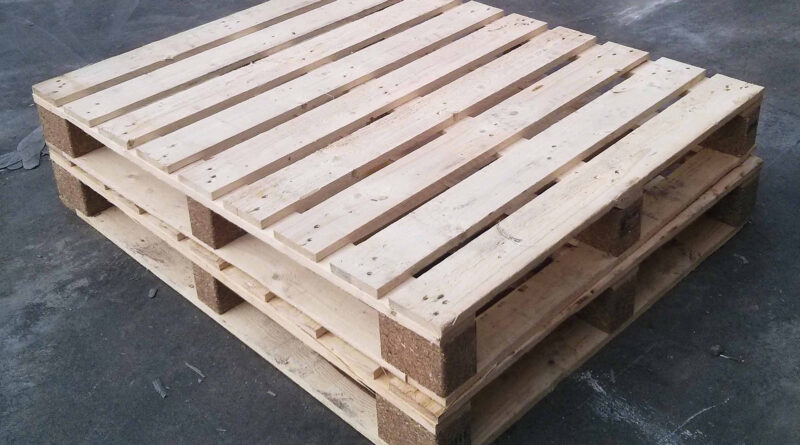
Pallets are readily available at several locations such as garden centers, lumber stores and recycling depos, and many businesses will leave them out for curbside pickup.
When selecting your pallets, choose ones that are not chemically treated and generally in good condition; picking pallets that are all the same size can be helpful. You will also need to pick up some filter cloth. It should be a minimum width of four feet and long enough to accommodate the number of gardens you are making.
First, place the skid top side up. Cover this side with the filter cloth using a staple gun and don’t be shy with the staples. Flip it over – this is now the top side.
If this upper side has continuous slats, then remove enough to allow for spacing of 8”-10”. These become your planting rows and the area to label your seedlings.
Raising the garden box to a comfortable height is next. Build four legs with 2×6 lumber (2 per leg) and cut them to length; equal to the predetermined comfortable height for you to have easy access while gardening.
Secure two of the 2×6 pieces together to form a 90-degree corner and fasten to each corner flush to the top side.
Once your garden box is in place, fill it up with a good quality potting mix, or blend your own soil if desired. Plant your seedlings, allowing for adequate spacing based on the plant, and label your rows. Water and fertilize as required.
I am currently working on this project myself and I can’t wait for warmer weather to start my planting.
This is a great little project with a big reward and I hope that you have fun with it. Happy gardening.
Our Resident DIY Guru; Dave Linkert, Port 32 Marshall Homes, Bobcaygeon
cottagecountryDIYdave@gmail.com


